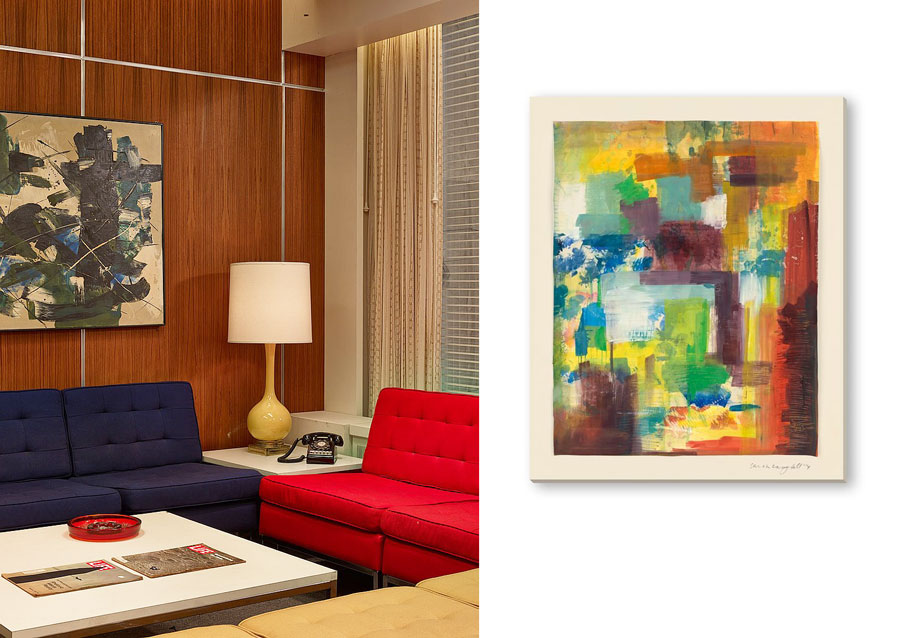
A simple outline around a picture can make the difference between “looks good” and “looks great”.


The BIG frame up
We needed some big impact in our living room. I mean, BIG. We found this oversized abstract wall art from West Elm. At seven foot tall, it had the presence we needed for our 18 foot wall. The West Elm wall art looked good but I knew it could look great. On a white wall the art didn’t pop. What it needed was a big outline on that big white wall. It needed a frame. A simple project with a lot of impact.
WHAT YOU’LL NEED

Poplar wood – Poplar wood is a good affordable choice because it typically has a straight, uniform grain which is good for staining. Choose a size that proportionately fits the canvas. For my large canvas I used 1 x 3 poplar.
Miter box and saw
Wood stain, polyurethane, steel wool and disposable foam brushes
Panel nails and hammer

Measure the length you will need for the top, bottom and sides. Measure each separately. Each sided may be slightly different.

Cut each piece with a miter box at a 45 degree angle. Make sure you cut the angles correctly. It’s easy to have a dyslexic moment and cut the angles wrong.

Mark the ends of each piece top, bottom, left and right. This will be helpful when putting the frame together. Stain both sides of each piece. After the stain has dried coat both sides of each piece with polyurethane. Three coats should be enough. Between coats lightly sand with steel wool to smooth the grain.
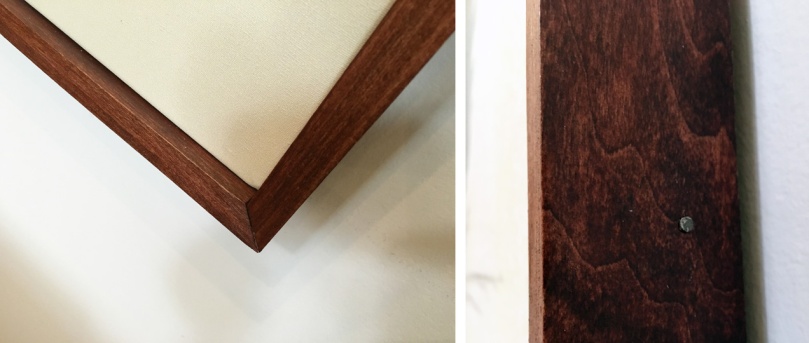
Lining up the mitered corners, nail each piece directly into the sides of the canvas.
That’s it!
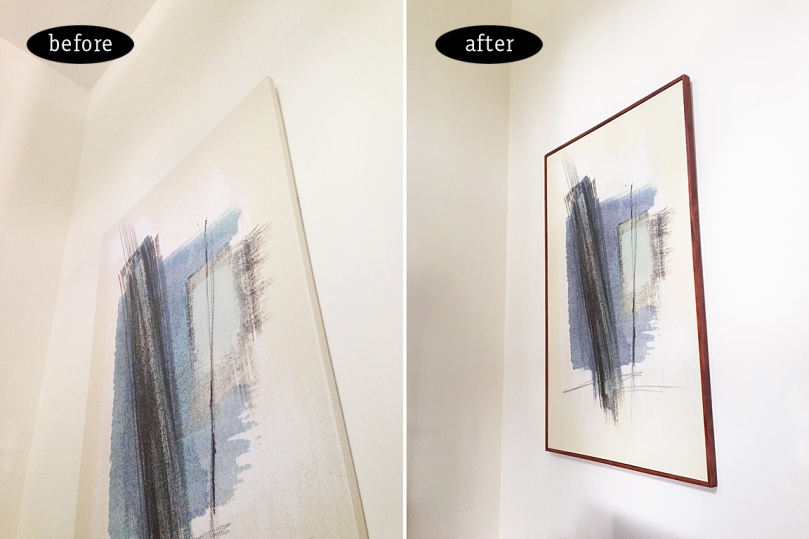
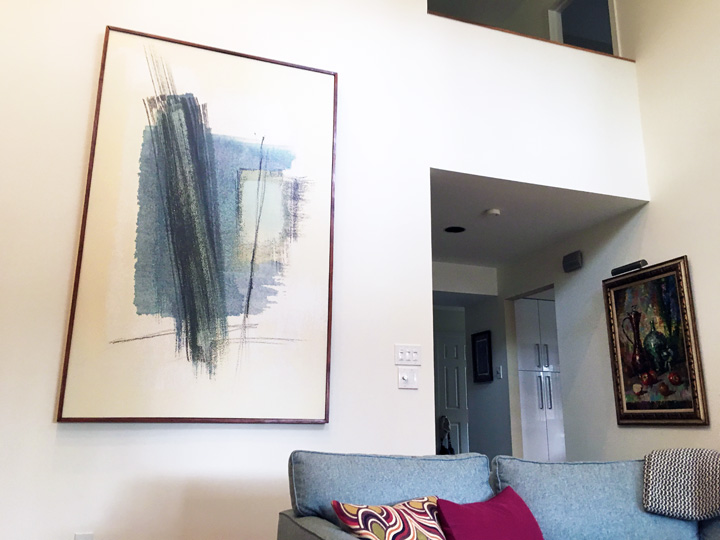
Now our seven foot canvas is the focus on the wall instead of blending into the wall.