Moss growing under my feet

With a nod to her past, a designer uses reclaimed mushroom wood as an accent to a modern kitchen.


Who claims fame for reclaimed?

When my father chose used bricks for the foyer and fireplace of his custom built home in South Jersey, even then, I thought… that’s cool. There were other materials in the house that were “reclaimed” or salvaged. The desk suspended from ships’ chains, railroad tie beams on the ceiling and a penny gum ball machine in the family room. They were all curiosities.

John had a vision when he built the house. It would be a grey weathered New England saltbox. Maybe he wanted to bring a little bit of his New England roots to the Jersey shore. No aluminum siding here. The house was clad in cedar siding. Cedar very quickly weathers to a smokey grey as if being battered from years of weather’s storms. However, I’m quite certain that if reclaimed cedar siding had been available back then to achieve his vision, he would have used it.


cedar
Reclaimed weathered cedar siding from Historic Woods


Sustainable and eco friendly?

A natural landscape was chosen to complete the look. Or more simply, it had no lawn. Why? Was it because it was sustainable? Or eco friendly? Not a chance. He had no use for a lawn. To him, spending hours maintaining a lawn involved giving up too much valuable free time. So eventually, the yard turned into a low maintenance and eco friendly mossy carpet nestled in a neighborhood full of manicured suburban lawns.

John was certainly no conservationist. And he wasn’t trying to be trendy. However, he did have an unrealized creative side and a spirit to do things differently.


Mushroom
Provenance Mill works reclaimed mushroom wood

Now trending

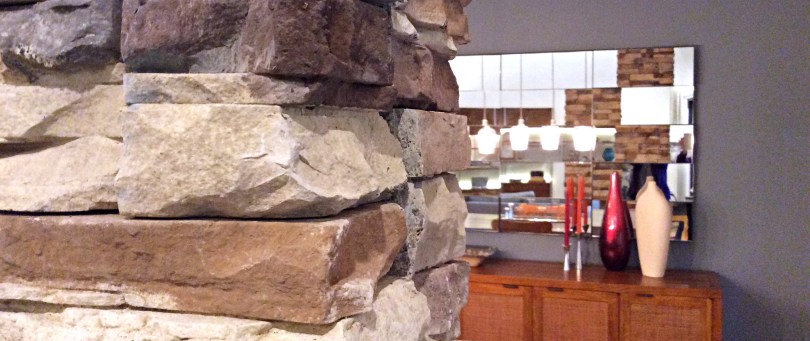
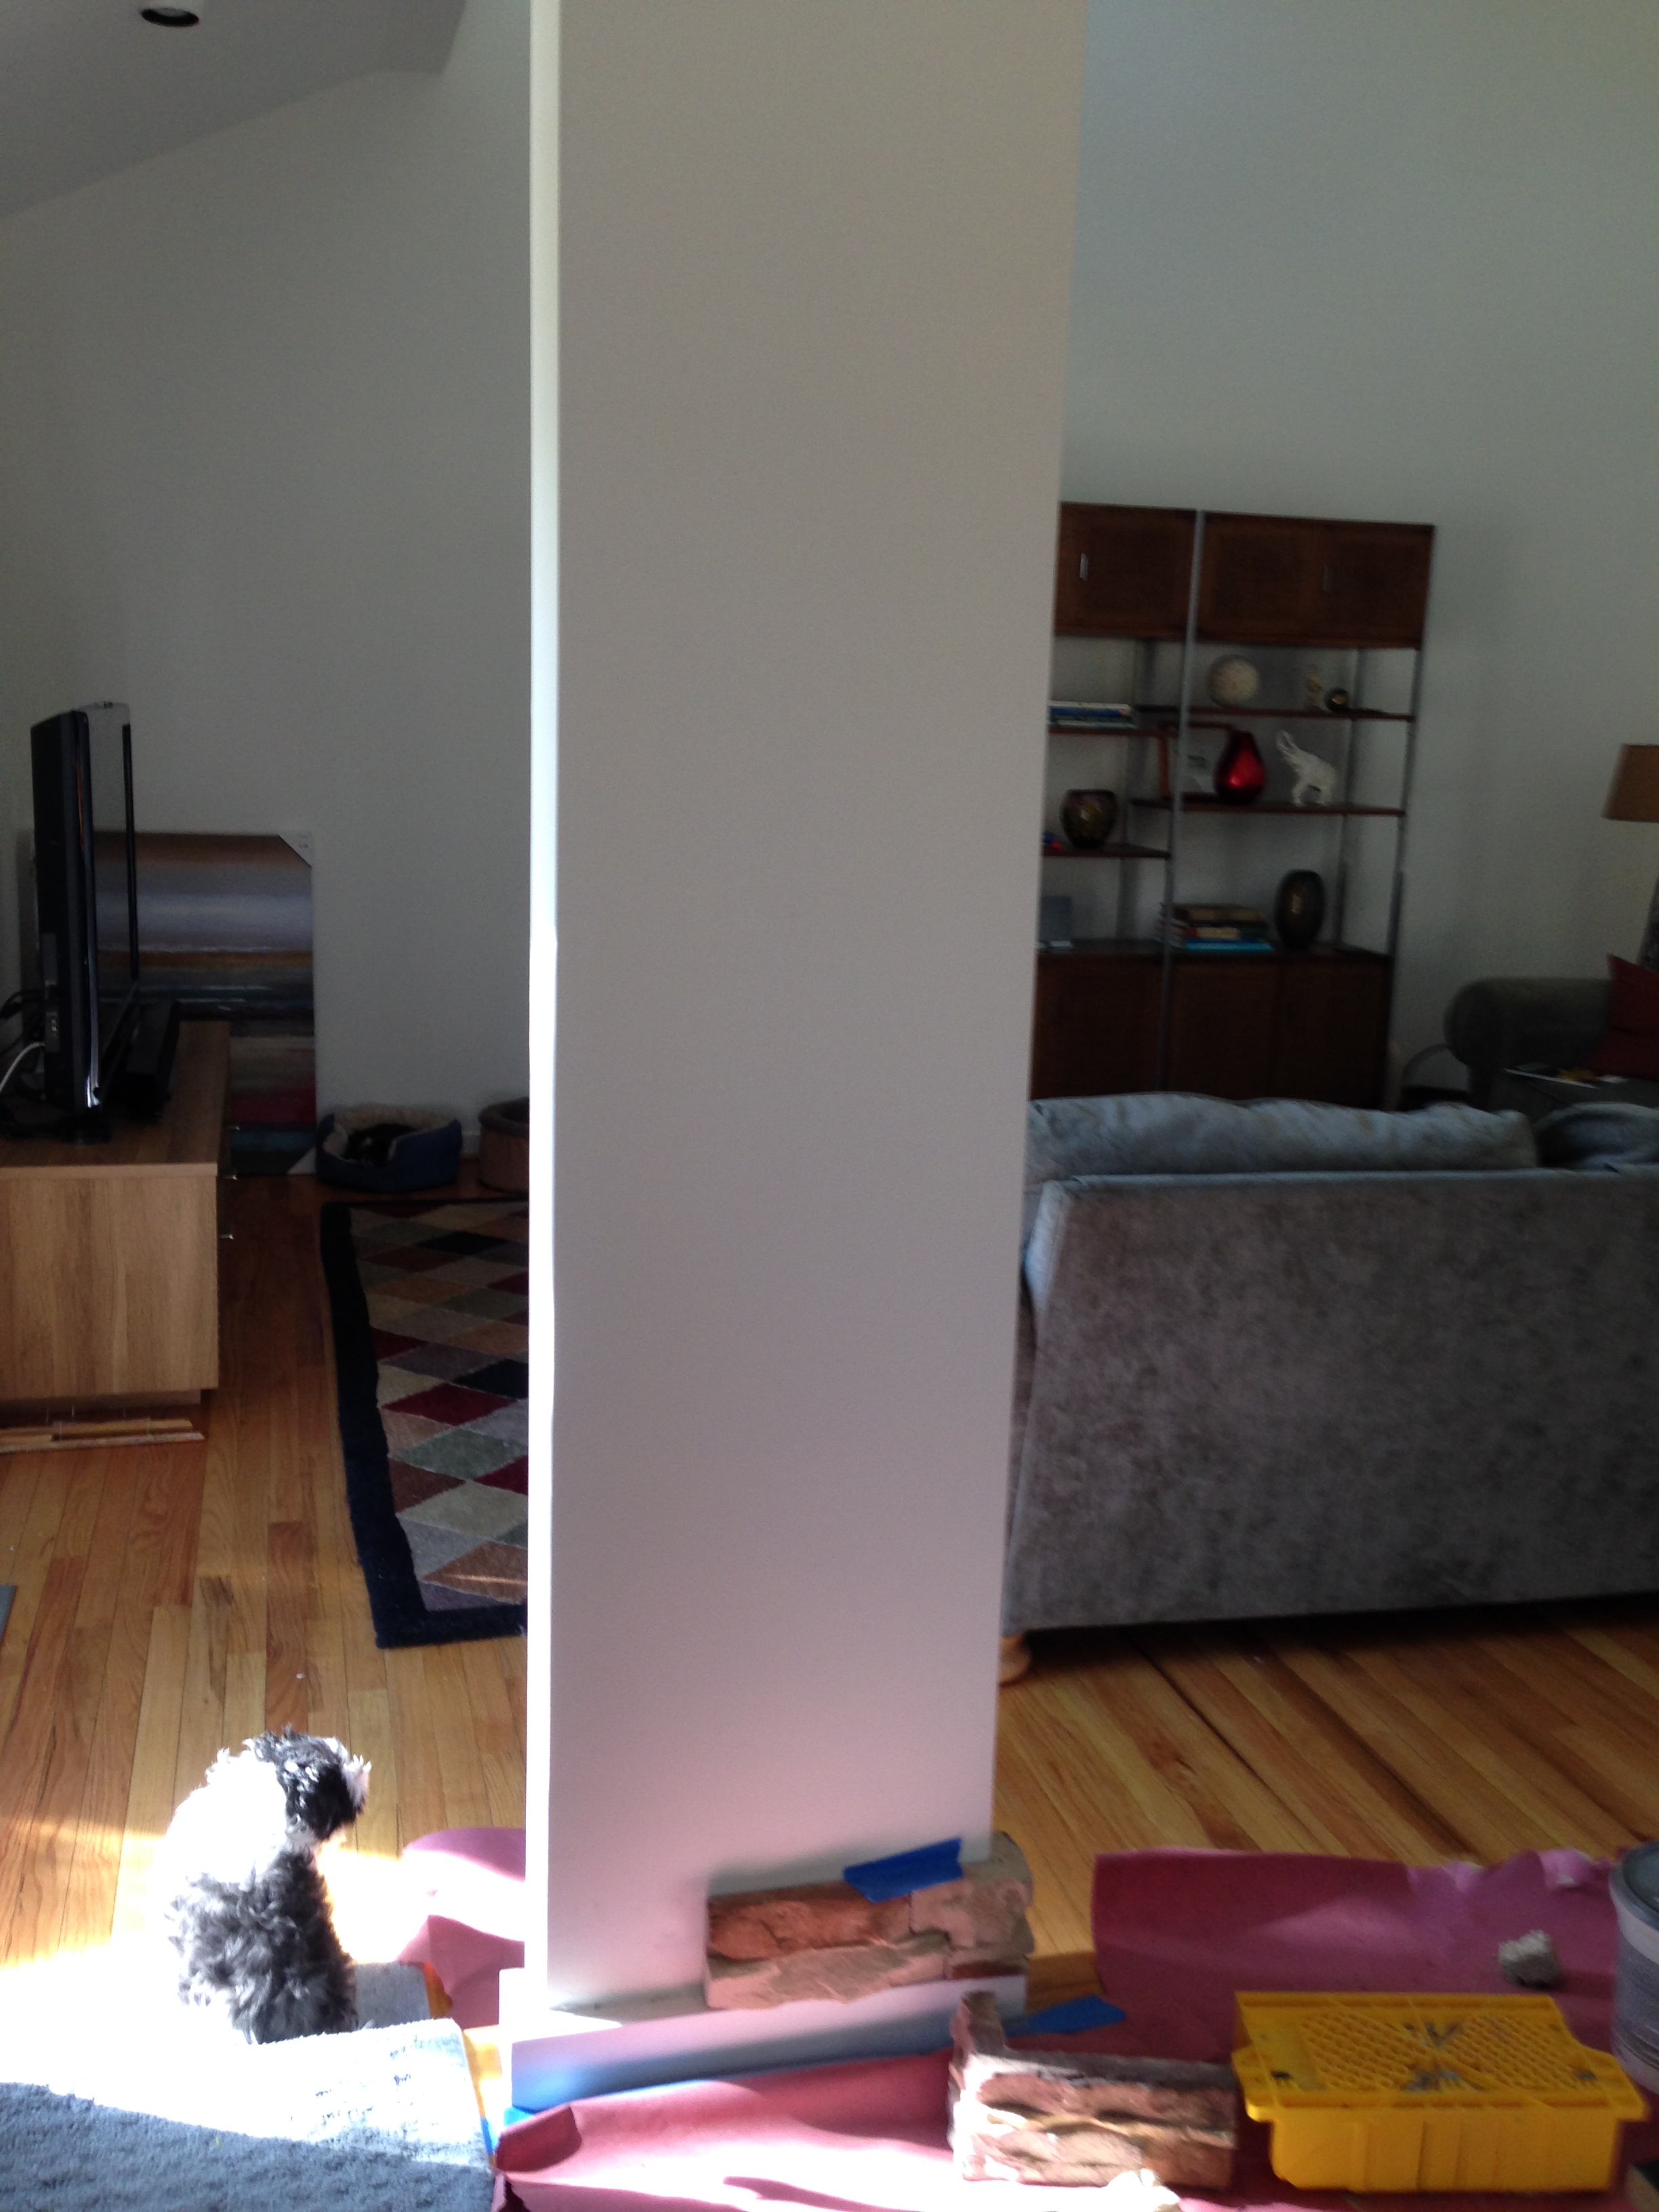
Recently, we renovated our kitchen with modern glossy white cabinets. But too much of a good thing can be, well, just too much of a good thing. Our modern glossy cabinets begged for a complimentary natural accent. The back of the counter bar peninsula was a perfect place to add a touch of something organic. Afterall, opposites attract in both design and dating.

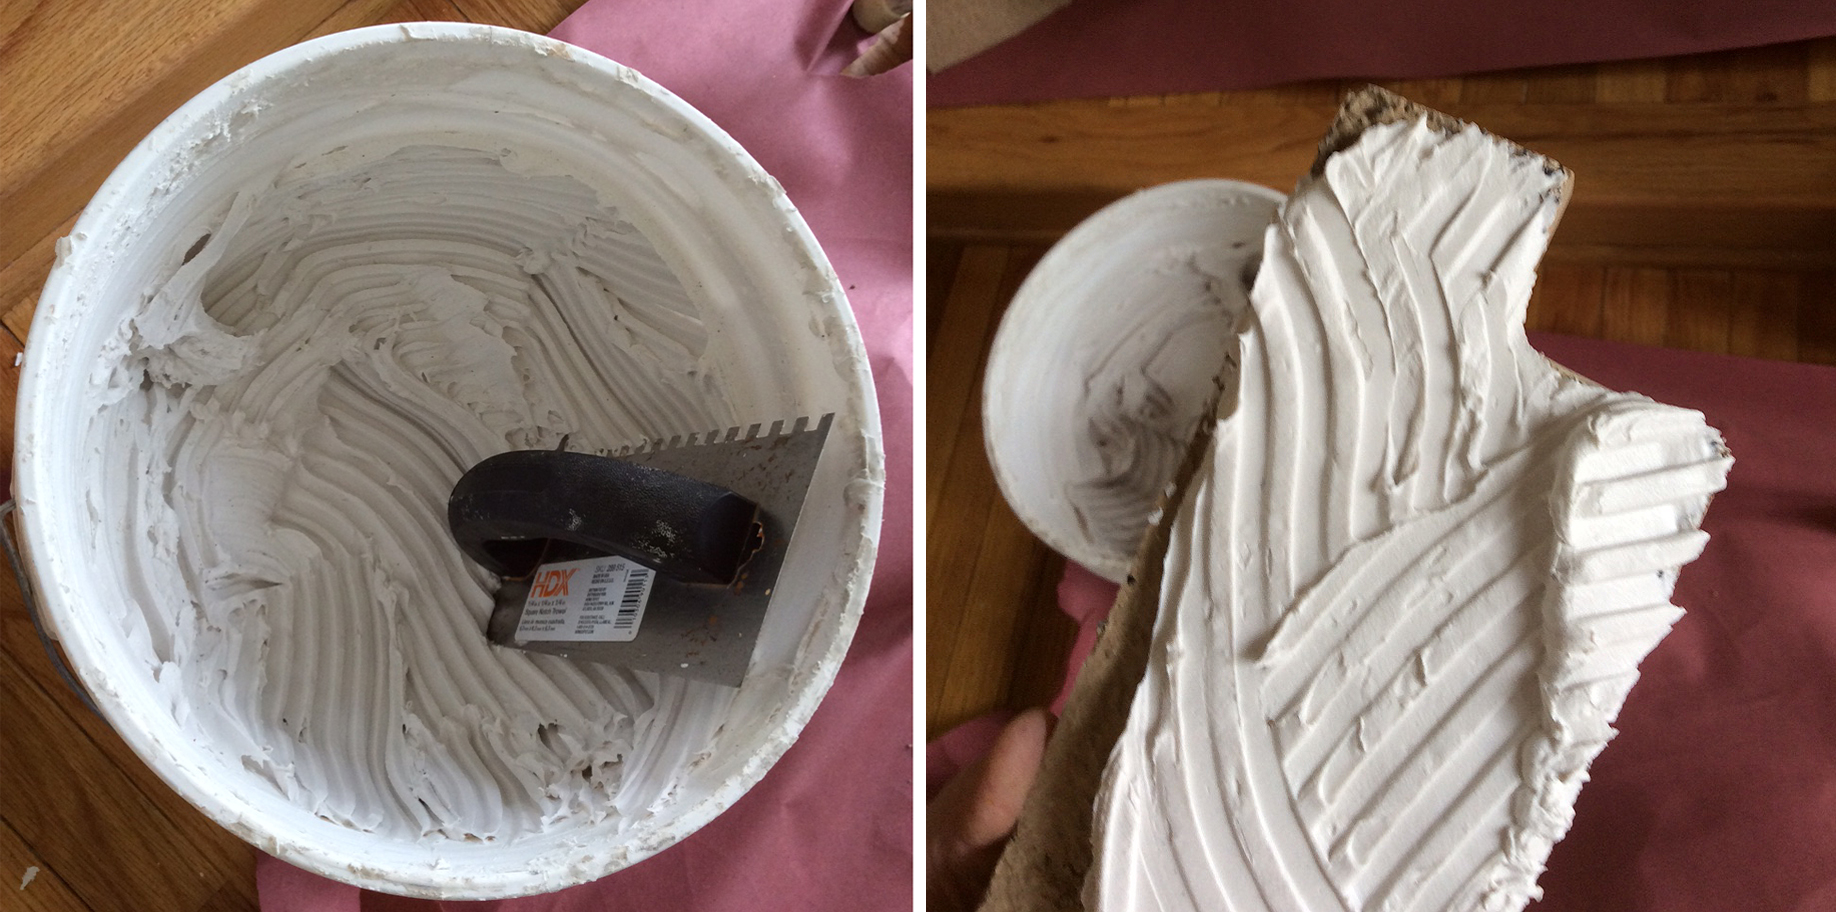
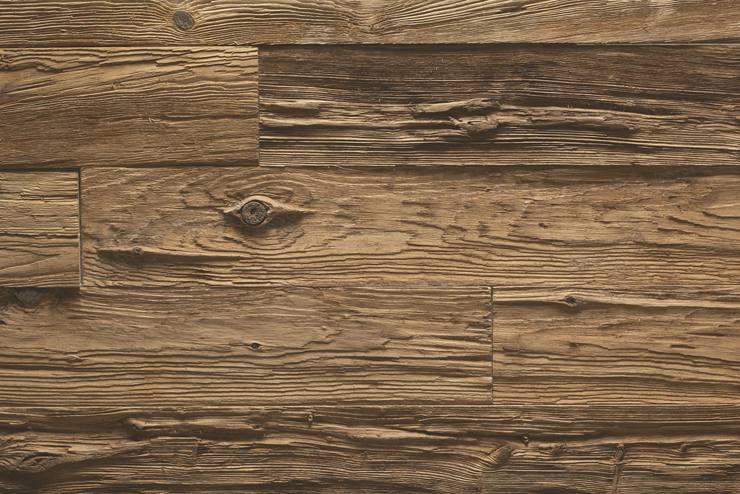
I scoured the internet searching for reclaimed wood. You’ve seen it. Every trendy restaurant now has reclaimed wood decor. But finding it for my small project was near impossible. After a multitude of unsuccessful searches, I finally found a local supplier of reclaimed wood. Provenance Mill Works in Philadelphia is an amazing treasure trove of reclaimed wood and salvaged objects. There, I discovered mushroom wood. Reclaimed from commercial mushroom planting beds, enzymes erode the grain which produces sculpted canyons in the wood. It’s affordable, sustainable and never needs treating. And since mushroom farmers regularly replace bins the supply is endless.


mushkitchen
Mushroom wood planks installed on the back of the peninsula.

My claim of reclaimed

Once I decided to used reclaimed mushroom wood as an accent in our kitchen I couldn’t give myself THAT much credit. Afterall, haven’t many have gone there before? Many, including my father, used reclaimed before it became trendy. It’s always been a vehicle for adding a little bit of soul where non exists. Be it because of economic necessity, the desire to be closer to nature, or just our past, reclaimed materials will always intrigue people. But for me, I smiled to myself, thought of my dad, remembering him doing things a just a little bit differently.

Building on a theme

Inspired by Frank Lloyd Wright’s Fallingwater, this DIY project brings ecologically friendly stacked stone as a natural element indoors.


In Fallingwater Wright captured the perfect essence of our desire to live with nature, to dwell in a forested place and be at home in the natural world.

– Edgar Kaufmann, Jr.

Organic, it’s not just about food.

If you’re familiar with Frank Lloyd Wright’s Fallingwater in Mill Run, PA, then you know he designed the Kaufmanns vacation home with the idea of bringing the outdoors in. The Kaufmanns, who lived in Pittsburgh, were the well-to-do owners of Kauffmann’s Department Store. Their property along the Bear Run stream was their summer escape from what was then called the “Smokey City”.

FWoutside
Photo Courtesy of the Western Pennsylvania Conservancy. Fallingwater is located in Mill Run, PA.

A building should grace its environment rather than disgrace it.

– Frank Lloyd Wright, Hugh Downs interview, 1952

Fallingwater, or the Edgar J. Kaufman House, was constructed from 1936-1938. What makes it so special is that it was is built over a 30 foot waterfall. The house lives IN nature. Wright designed a home that is not only an architectural masterpiece but an engineering marvel as well. His “organic architecture” combines with cantilevered terraces that jut out over the falls, creating strong horizontal planes reminiscent of the surrounding landscape. Native stone is used on floors and vertical supports. Horizontal components are poured concrete. And adding warmth is sap grain walnut throughout. The conscious use of materials from nature bring the outside in.

I visited Fallingwater while on a road trip to Pittsburgh a while back. I’ve wanted to return ever since. I want to remind myself of the design details which make this home a modern icon. A modern icon that beautifully balances the sleek lines of modern design without giving up the warmth of nature.

Mill Run is located between Philadelphia and Pittsburgh. It’s about a 4-5 hour drive from Philadelphia. It’s worth the visit.


Bringing my outside in.

I knew I wanted to bring natural components into our modern space. Modern spaces can quickly become cold. So it was obvious this white support column between the living room and dining room would be perfect covered in stone.

IMG_1588
BEFORE: The white support column. Photo bomb by Zoe.


It didn’t occur to me I was borrowing from Fallingwater.

Photo Courtesy of the Western Pennsylvania Conservancy. Fallingwater is located in Mill Run, Pa., 724-329-8501.
Living room of Fallingwater. Photo Courtesy of the Western Pennsylvania Conservancy. Fallingwater is located in Mill Run, PA.
columncropA
AFTER: Stacked stone column inspired by Frank Lloyd Wright’s Fallingwater.

Earth friendly organic architecture

I live in a condominium. Unlike Mr. Wright, I didn’t have natural field stone lying around to face my column. Even if I did, I’d be crazier than I already am if I’d even considered using it. Real stone is heavy. That includes the pre-made staggered stone panels. All more than I was willing to tackle. Eventually, I found Native Go-Stone sold through Home Depot. It’s lightweight and made from 87% recycled material. Here’s how I installed it.


WHAT YOU’LL NEED

Native Go-Stone panels sold through Home Depot. – Flat panels and corner pieces as needed. They can be ordered online and delivered to your home. Be aware. I received a few boxes with broken pieces. Don’t panic if you do too. With all the cutting required to cover my column the broken pieces were all usable.

Trowel and AcrylPro tile adhesive

Shims, painters tape and rosin paper

Ear, eye and face protection

Angle grinder, blades and a level

Recommended: portable work table with clamping capabilities

supplies

safetyB

workbench


Before starting, make sure to protect your floors surrounding your work area. Rosin paper is inexpensive and works very well. It can be taped down with painters’ tape. Fold it up and toss it out when you’re done for the day. Yes, if you have lots of cutting to do this will take longer than a day.

toolsA

Cut marks can be made with a pencil. Where eye, ear and face protection when cutting. You’ll also want to do this outdoors. There is a lot of dust and debris left after cutting.

NOTE: According to Go-Stone this material can be cut with a drywall saw. That’s sort of true. I wore out three drywall saw blades before I’d had enough. Go out and buy an inexpensive angle grinder. It’s worth the $40 to save your sanity and everyone’s around you.

one

Start at the bottom (starting at a corner if applicable) and dry fit panels before applying tile adhesive. There are three different size panels, plus corners if you’re using them. Stagger the panels. You want to reduce the appearance of seams.

butter

Generously apply tile adhesive in a criss cross pattern to the stones. Adhere the tiles wiggling them a bit to ensure the adhesive coats thoroughly.

shimsB

Once you’ve set a row of stones, check to make sure they are level. If not, level the stones with shims. Continue stacking the stones and leveling until you are done.


The finished column. I couldn’t be happier. What do you think?

column

LEDs… delightful.

shelvesLED

Mid-Century Modern not so modular shelves.

We bought this Mid-Century Modern modular shelving unit from the estate of the previous owner. It’s well-built, stylish AND practical. The rails are aluminum. The drawers are solid wood. The doors have rattan inserts. And, there’s lots of storage. I’m not a fan of clutter. I’m a fan of hiding clutter. I hide the dog toys in the bottom drawer on the left.

Our predecessor had the shelving unit upstairs. In order to move it downstairs to the living room it had to be taken apart and reassembled. “Modular” was not the word I used to describe the unit while moving it.

binderscrew
Binder screws.

I scrubbed 30 years of nicotine off the shelves. Polished the aluminum support rails. And then, went off to the hardware store to find binder screws to assemble the unit. Half of the binder screws were missing. The holes in the rails needed to line up perfectly with the holes in the cabinets in order to put the shelves together. Another two person job. The project that I said, was at best, 1-2 hours, took the entire day. Funny, that happens a lot.


shelvesAGreat! Love it… except. It looks underwhelming.


The shelves required some drama to show them off. At night, against an 18 foot wall, the shelves visually melted into the room. But with minimal cost and effort. And by adding background lights. The shelves now look rich and sophisticated. 


Not too hot. And not too cold.

Lighting is an important component of design. Lighting design professionals understand the art and science of lighting. It can be used to create drama and add dimension. Retailers, designers and directors all use lighting to connect with audiences.

With lighting, knowing color temperature is important. Do you ever wonder why you look so bad under fluorescent lights? It’s because the least flattering light for your face is blueish light. It’s color temperature is cold. Fluorescent lights emit bluish/green light. This makes your skin tone look sickly and pale. This is useful information for your next selfie.

colortemp
Lowel EDU: Lighting Resource Center

If you want to understand about the art and science of lighting, visit Lowel.


Drama, in the right places.

For this project, I used LED tape lights from LED Wholesalers. I taped the LED lights to the back of the shelving unit. They are 12 volt DC, 24 watt, warm white with a color temperature of 2700K. Warm lighting is a good choice for home lighting. It feels natural and comfortable.

These lights are cuttable, dimmable and have an adhesive back. They required a power adapter and connectors as needed. A touch sensitive dimmer switch is optional.

LED lights have come a long way in recent years. Partly due to the phasing out of incandescent bulbs. I recommend changing to LEDs throughout your home. You’ll save money, save the environment AND you can still look good. LEDs are affordable (they keep going down in price) and are readily available in warm white 2700K.

Instructions

IMG_0675

LED 12 volt DC, 24 watt, warm white tape lights with a color temperature of 2700K and scissors.

addons

Power adapter, connector and optional touch sensitive dimmer switch.

IMG_0676

Tape lights come in different lengths. These lights can be cut with scissors every two inches for custom sizing. A variety of connectors can be added for different situations.

tapebacking

2WireConnection

  1. Peel off tape backing and stick in place.
  2. Connect to connector or connectors.
  3. Plug into the power adapter.
  4. Plug into an outlet.
  5. Optional: Connect the power adapter to a touch sensitive dimmer switch.

I love the way this turned out. This media unit needed a little help. The LED tape lights also compliment the two LED lamps.

3floorledA

3floornoledAUnderwhelming too.


This media cabinet without lighting. 

Iris unplugged.

iris


In case you don’t know, Iris Apfel is 93 years young. And, she is beautiful. Every wrinkle and gray hair radiates the depth of her style. She represents, for me, authenticity and connectedness to what is real. She reminds me of what I miss. The familiar glasses, the silver hair and lip stick. She reminds me of my mother. And she reminds me of the style and character of a generation unplugged.

In my view you can’t go to the future if you haven’t come from the past. — Iris Apfel

Marian in 1978.
Marian in 1978.

How do we create?

It’s been three days since I saw the movie “Iris” and for three days Iris Apfel has been on my mind. There is no doubt Iris Apfel is talented. It’s refreshing to see her connect the dots of design while unencumbered by brand influence or ego. And invigorating to watch the “geriatric starlet’s” mind gather her components to create. She has a sense of self so rich you can’t help but fall in love with her.

Iris Apfel isn’t new or fleeting. To be defined by media then tossed aside. No, her bountiful curiosity has enriched her wardrobe and us. Her body is her canvas. Her age is irrelevant. Her style can’t be categorized. Her art (yes, it is art) is timeless.

As I watched her work her magic I longed to explore design again without the aid of technology. To let my mind blissfully wonder, unplugged. Did I? No. Can I? Is that today’s luxury? It takes hours of time. The internet has become my avenue of discovery. A quick reward. But the personal reward of natural discovery is so great. It seeps deep into my soul.

To find out who you are is like putting yourself on a psychiatric couch, but you have nobody to help you. Really it isn’t easy. I was talking with my nephew this morning and he gave me one of the best quotes I’ve heard in years ‘Personal style is curiosity about oneself. — Iris Apfel

Looking to the past to create for the future

It’s easy to think every answer can be found on the internet. It can’t be. I can easily get in a rut where I think it can. Sometimes, I simply forget that answers come to me when I let my ideas “stew” or through natural exploration. A valuable takeaway from a movie. Looking backward, discovering where I came from, why I am who I am, exploring and connecting. The essential components of self-awareness and creativity.

My mother's accordion box evening bag. Italian, made of silk.
My mother’s accordion box evening bag. Italian, made of silk.

I just got pinged from my friend Joann. Do I want to see the documentary “Sagrada: The Mystery of Creation” on Friday night. Barcelona’s La Sagrada Familia designed by Antoni Gaudi and still under construction. We visited Barcelona in 2002. How great it was. Even if it’s virtual, I think I’ll go. To hopefully inject my creative soul with a little more borrowing from the past.

My bright idea.

crystallight

We inherited this chandelier when we bought our house. Nice, but not really our style. I believe in recycle, reuse and “reward” so I posted it on Craigslist. It ended up selling for $280 to a man from Brooklyn, NY. Yes, Brooklyn. He was in the Philadelphia suburban area on a buying sweep. I’m sure it ended up at Brooklyn Flea or in an antiques/collectible shop. But ya know, I often wonder. Who’s living with my stuff now?


Affordable industrial chic chandelier.

Now I needed a new chandelier. I searched for an affordable industrial chic chandelier to accompany our concrete dining room table. Everything was either too modern, too big, over designed or too expensive. Also, I had a unique situation because the outlet box wasn’t centered over the table.

Off center. No problem.

This is the second house I’ve lived in where the position of the dining room chandelier outlet box is in the center of the room. My dining room table is OFF center. So I devise a solution to this problem. And it doesn’t involve an electrician ripping up the ceiling to move the outlet box. By creating my own lighting canopy I was able position the fixture OFF center, hide the pendant wiring AND cover the outlet box.

Light fixtures aren’t complicated. They consist of a bulb, socket and wire. The rest is dressing.

chandelierB

WHAT YOU’LL NEED

3-4 pendant lights

Something to use as a lighting canopy. It should be metal.

Drill and drill bits

Electrical tape and wire connectors

Washers

Screws and  anchors

Screwdriver

Measuring tape

Another set of hands


First, I started shopping for affordable pendant lights. I chose these from Lowes. The globes are clear and they have an industrial chic style. Also, light shines down with these pendants. ADVICE: Go with white or clear. I once made the mistake of buying a pendant with an amber colored globe. It was like eating with a bug light hanging over the table.

loweslight
Lowes allen + roth Brushed Nickel Mini Pendant

Next, I had to find a suitable solution for a lighting canopy (the part which houses the wiring). I imagined a metal boot tray. I started scouring the internet. No luck. Then I came across these zinc finish metal trays at Terrain’s website. Perfect! (Terrain is in Glen Mills, PA and Westport, CT. It’s worth a visit just for ideas.) I bought the medium tray. It’s metal, AND the style compliments the pendant fixtures. I had my components so I was ready to start.

2trays
Terrain Habit & Form Dark Zinc Rectangle Tray


Instructions

First… turn the power off at the breaker box.

AND

This is a two person job.


First, measure the diameter of the pendant. Add to the diameter an allowance of space for the pendants to hang side by side. Drill holes for the pendant cords.

trayholesA

Drilled three additional smaller holes. One to secure the chandelier to the outlet box and two to secure the fixture to the ceiling. Preferably, secure to studs. If not, be sure to use anchors. 

Depending on the new position of your fixture, you may secure the lighting canopy to the outlet box with a hole in a different position. But I recommend at least three holes to secure the canopy to the ceiling.

trayholes

Feed the pendant wire through the pendant light cord holes. Decide on the desired length of the pendant cords. Generally, approximately 30 to 34 inches over a table with an 8 foot ceiling height is appropriate. Use a washer and tighten the nut at the desired cord length inside the tray. Then tighten the couplings on the opposite outside. Do this with all the pendants.

wireB

Splice the pendants in parallel (you’ll probably want to cut the excess pendant cord) and wire them to the box with electrical tape and wire connectors. You’ll need help with this. One person holding the fixture while the other connects the wires.

While holding the fixture in place, screw the canopy into the outlet box and the remaining two screws into the ceiling anchors.  

I recommend Edison bulbs to complete the industrial chic look. They range from $4-10 a bulb. 1000bulbs.com is a good online source for these.

bulb


I love how this turned out. The pendant chandelier now hangs centered over the OFF center concrete dining room table.

finalchandelier

Mad Men lives on

Mad Men is over but Don Draper’s world lives on. We see his living room flipping through the pages of a Crate and Barrel catalog. In artwork inspired by the era at West Elm. At IKEA, the Scandinavian originator of today’s modern functional design. And if we’re lucky enough to afford it, the real deal at Design Within Reach.

Left: Interior Design Magazine. Don Draper's NYC apartment. Photography by Eric Laignel. Right: Crate and Barrel's March spring collection 2015.
Left: Interior Design Magazine. Don Draper’s NYC apartment. Photography by Eric Laignel.
Right: Crate and Barrel’s March spring collection 2015.

What is so appealing about this era in design? FORM FOLLOWS FUNCTION. Not a catch phrase but a practical manifesto for post war Europe and America. While Europe was rebuilding, America was entering an era of manufacturing might. After the hardships of war decorative design elements became frivolous, costly, and time consuming. New techniques in manufacturing introduced the world to new possibilities. Artists began designing with a view towards a modern utopia. Not to decorate and hide, but to reveal the structure within. To make beautiful the materials of manufacturing. Strip everything bare to its simplest forms. Painting became abstract, office buildings exposed their skeleton structures, and furniture became bare of decoration. Ultimately, a simple beauty emerged which remains timeless and still popular today.

Modern design emits hope. Hope in the future. Hope in possibilities. Hope in ideas and invention. The style will never go away and will always continue to evolve.

abstractwestelm
Left: Award winning set from Mad Men. Interior Design magazine. Photography by Eric Laignel.
Right:
West Elm, Sarah Campbell Wall Art – Hot Day

The simple elegance of this design period plays well with so many other styles. It’s been combined with african art, oriental rugs and global textiles. 

Miller House and Garden.  Owned and cared for by the Indianapolis Museum of Art
Miller House and Garden in Columbus, Indiana. Designers: Eero Saarinen, Alexander Girard, and Dan Kiley.
Owned and cared for by the Indianapolis Museum of Art

We’ve said goodbye to Don Draper and company but we’ll never say goodbye to modern.

This slideshow requires JavaScript.

To view the entire galley of award winning Mad Men sets at Interior Design click here.

Five design rules to live by.

five

No one likes to live with rules but rules create structure, balance and continuity to life around us.

Here are five design rules to make your space and it’s inhabitants happy campers.

1. Cut out the clutter. This is obvious but it needs to be said.  If you want to approach a magazine worthy looking space then stacks of mail, kids toys and gym equipment need to be put away.

2. Stick to a color palette. Choose 2-3 colors as a base to work with. Sticking to your color palette will create harmony in your space.

3. Create contrasts. Contrasts in color, size or texture add interest to a room.

4. Don’t buy everything at once. Build your space over time. Our tastes change and evolve. Shouldn’t your room too?

5. Don’t be afraid to fail. Sometimes design is just trial and error.