Inspired by Frank Lloyd Wright’s Fallingwater, this DIY project brings ecologically friendly stacked stone as a natural element indoors.
In Fallingwater Wright captured the perfect essence of our desire to live with nature, to dwell in a forested place and be at home in the natural world.
– Edgar Kaufmann, Jr.
Organic, it’s not just about food.
If you’re familiar with Frank Lloyd Wright’s Fallingwater in Mill Run, PA, then you know he designed the Kaufmanns vacation home with the idea of bringing the outdoors in. The Kaufmanns, who lived in Pittsburgh, were the well-to-do owners of Kauffmann’s Department Store. Their property along the Bear Run stream was their summer escape from what was then called the “Smokey City”.

A building should grace its environment rather than disgrace it.
– Frank Lloyd Wright, Hugh Downs interview, 1952
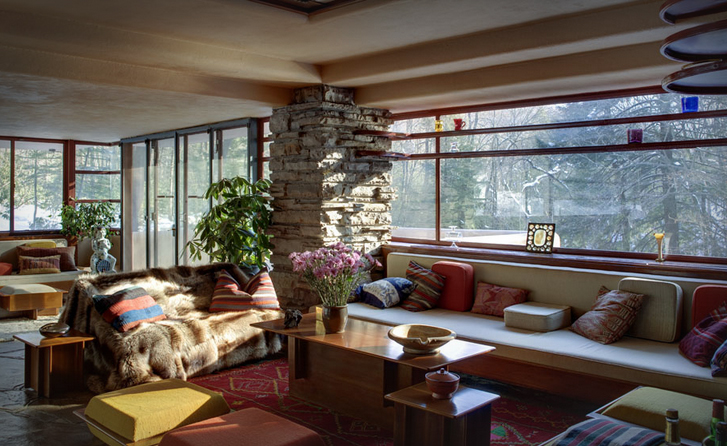
Fallingwater, or the Edgar J. Kaufman House, was constructed from 1936-1938. What makes it so special is that it was is built over a 30 foot waterfall. The house lives IN nature. Wright designed a home that is not only an architectural masterpiece but an engineering marvel as well. His “organic architecture” combines with cantilevered terraces that jut out over the falls, creating strong horizontal planes reminiscent of the surrounding landscape. Native stone is used on floors and vertical supports. Horizontal components are poured concrete. And adding warmth is sap grain walnut throughout. The conscious use of materials from nature bring the outside in.
I visited Fallingwater while on a road trip to Pittsburgh a while back. I’ve wanted to return ever since. I want to remind myself of the design details which make this home a modern icon. A modern icon that beautifully balances the sleek lines of modern design without giving up the warmth of nature.
Mill Run is located between Philadelphia and Pittsburgh. It’s about a 4-5 hour drive from Philadelphia. It’s worth the visit.
Bringing my outside in.
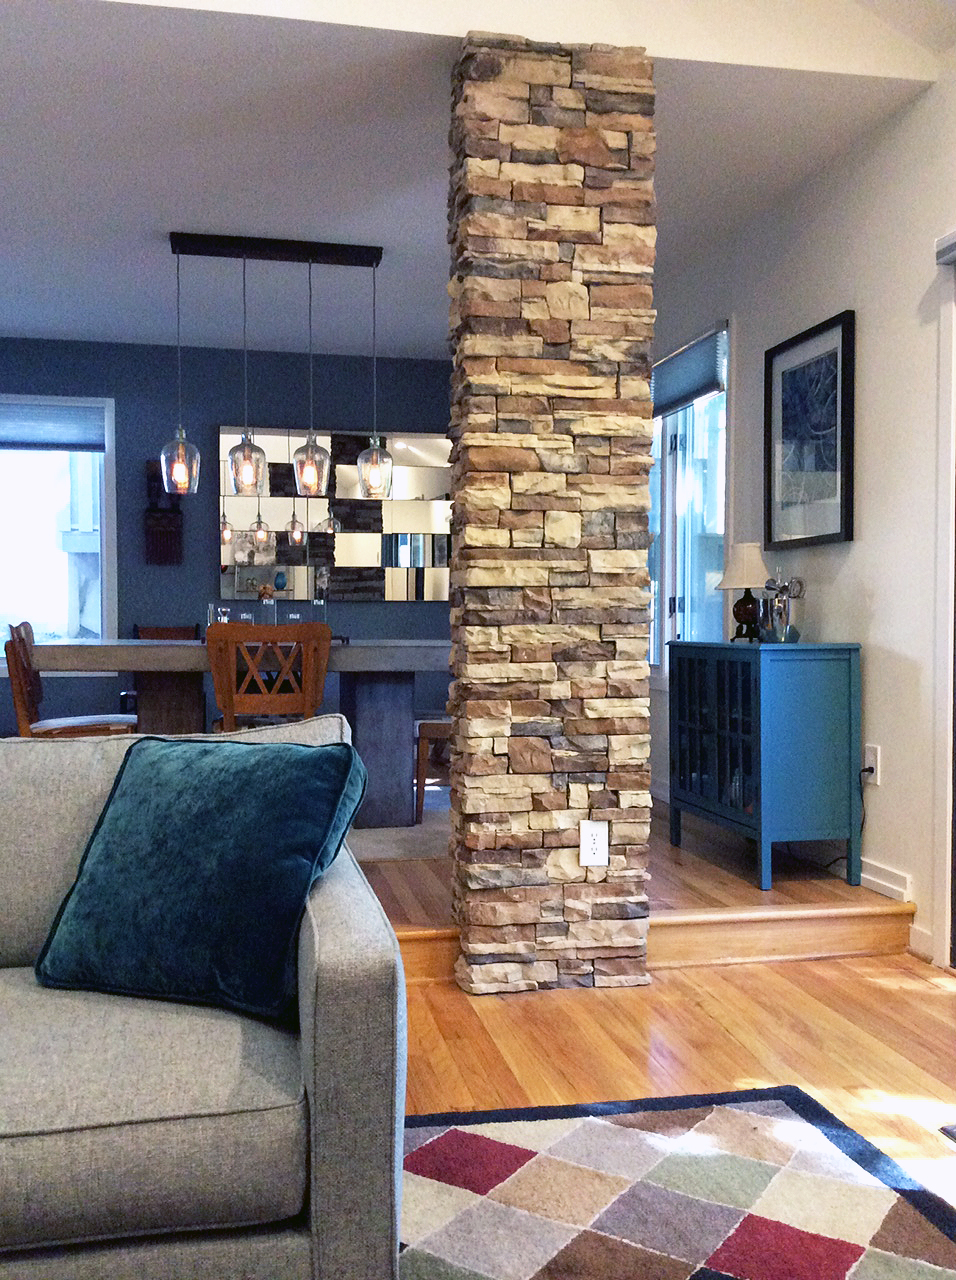
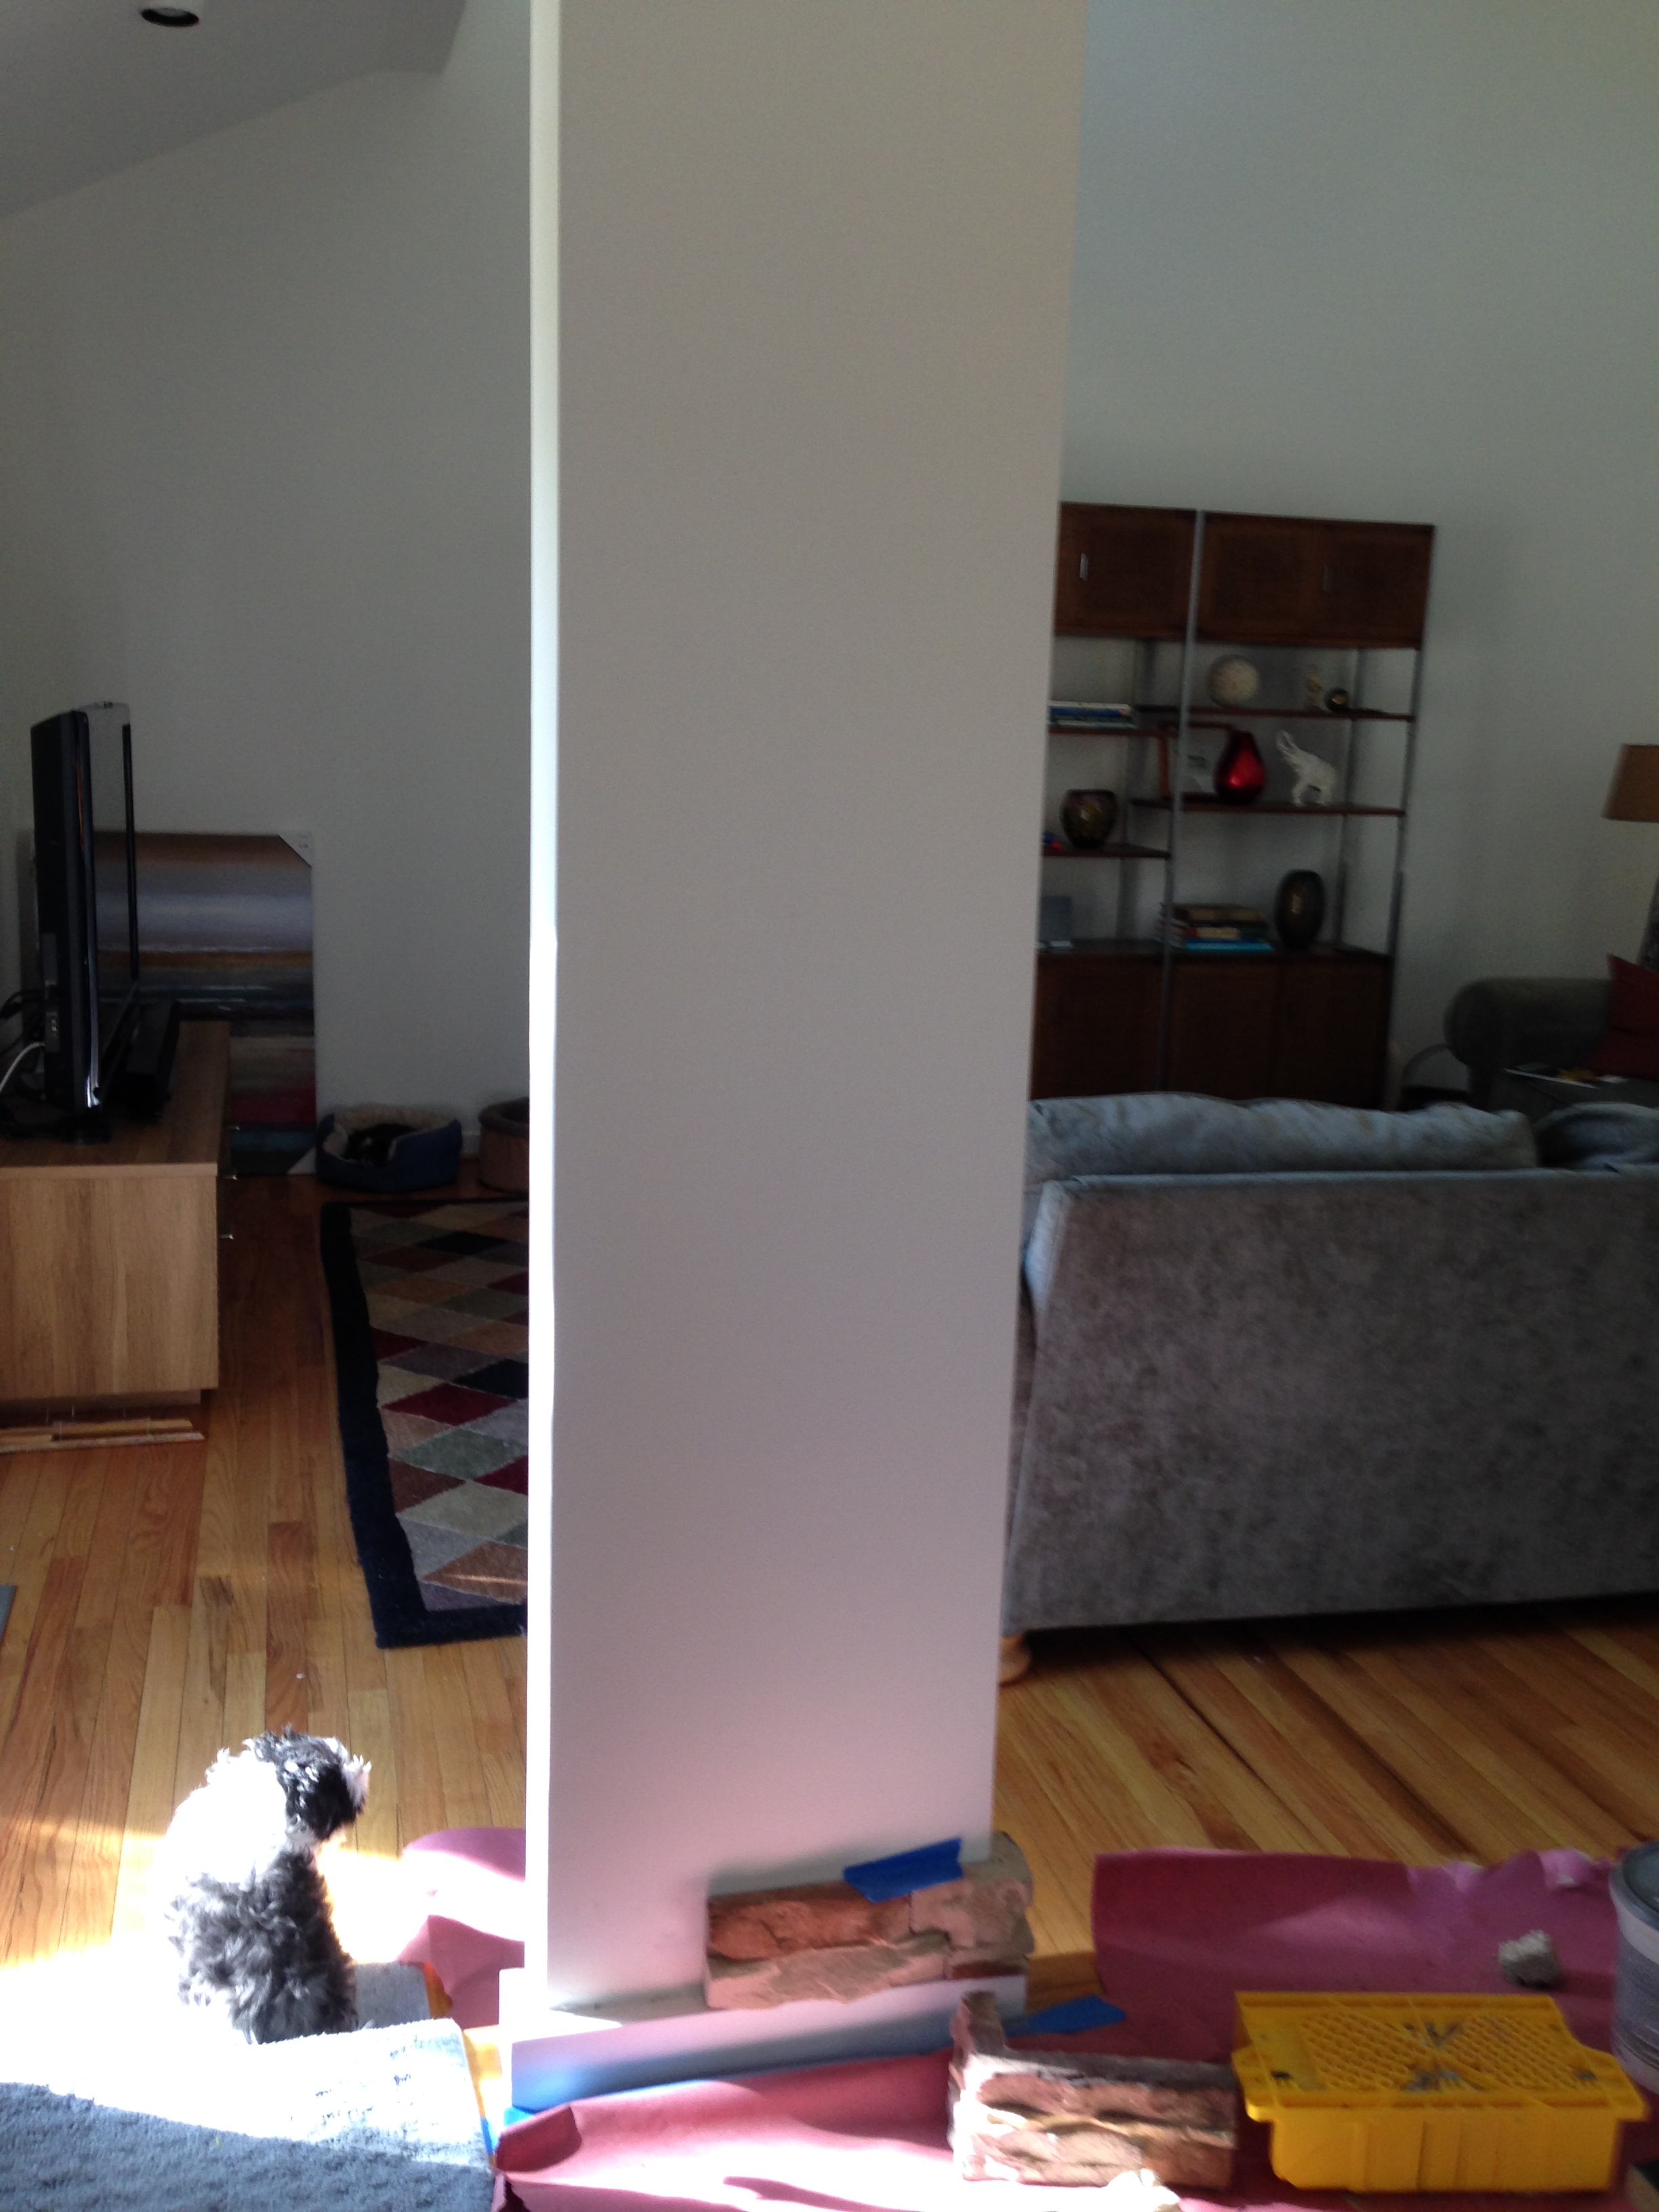
I knew I wanted to bring natural components into our modern space. Modern spaces can quickly become cold. So it was obvious this white support column between the living room and dining room would be perfect covered in stone.
It didn’t occur to me I was borrowing from Fallingwater.

Earth friendly organic architecture
I live in a condominium. Unlike Mr. Wright, I didn’t have natural field stone lying around to face my column. Even if I did, I’d be crazier than I already am if I’d even considered using it. Real stone is heavy. That includes the pre-made staggered stone panels. All more than I was willing to tackle. Eventually, I found Native Go-Stone sold through Home Depot. It’s lightweight and made from 87% recycled material. Here’s how I installed it.
WHAT YOU’LL NEED
Native Go-Stone panels sold through Home Depot. – Flat panels and corner pieces as needed. They can be ordered online and delivered to your home. Be aware. I received a few boxes with broken pieces. Don’t panic if you do too. With all the cutting required to cover my column the broken pieces were all usable.
Trowel and AcrylPro tile adhesive
Shims, painters tape and rosin paper
Ear, eye and face protection
Angle grinder, blades and a level
Recommended: portable work table with clamping capabilities


Before starting, make sure to protect your floors surrounding your work area. Rosin paper is inexpensive and works very well. It can be taped down with painters’ tape. Fold it up and toss it out when you’re done for the day. Yes, if you have lots of cutting to do this will take longer than a day.

Cut marks can be made with a pencil. Where eye, ear and face protection when cutting. You’ll also want to do this outdoors. There is a lot of dust and debris left after cutting.
NOTE: According to Go-Stone this material can be cut with a drywall saw. That’s sort of true. I wore out three drywall saw blades before I’d had enough. Go out and buy an inexpensive angle grinder. It’s worth the $40 to save your sanity and everyone’s around you.

Start at the bottom (starting at a corner if applicable) and dry fit panels before applying tile adhesive. There are three different size panels, plus corners if you’re using them. Stagger the panels. You want to reduce the appearance of seams.
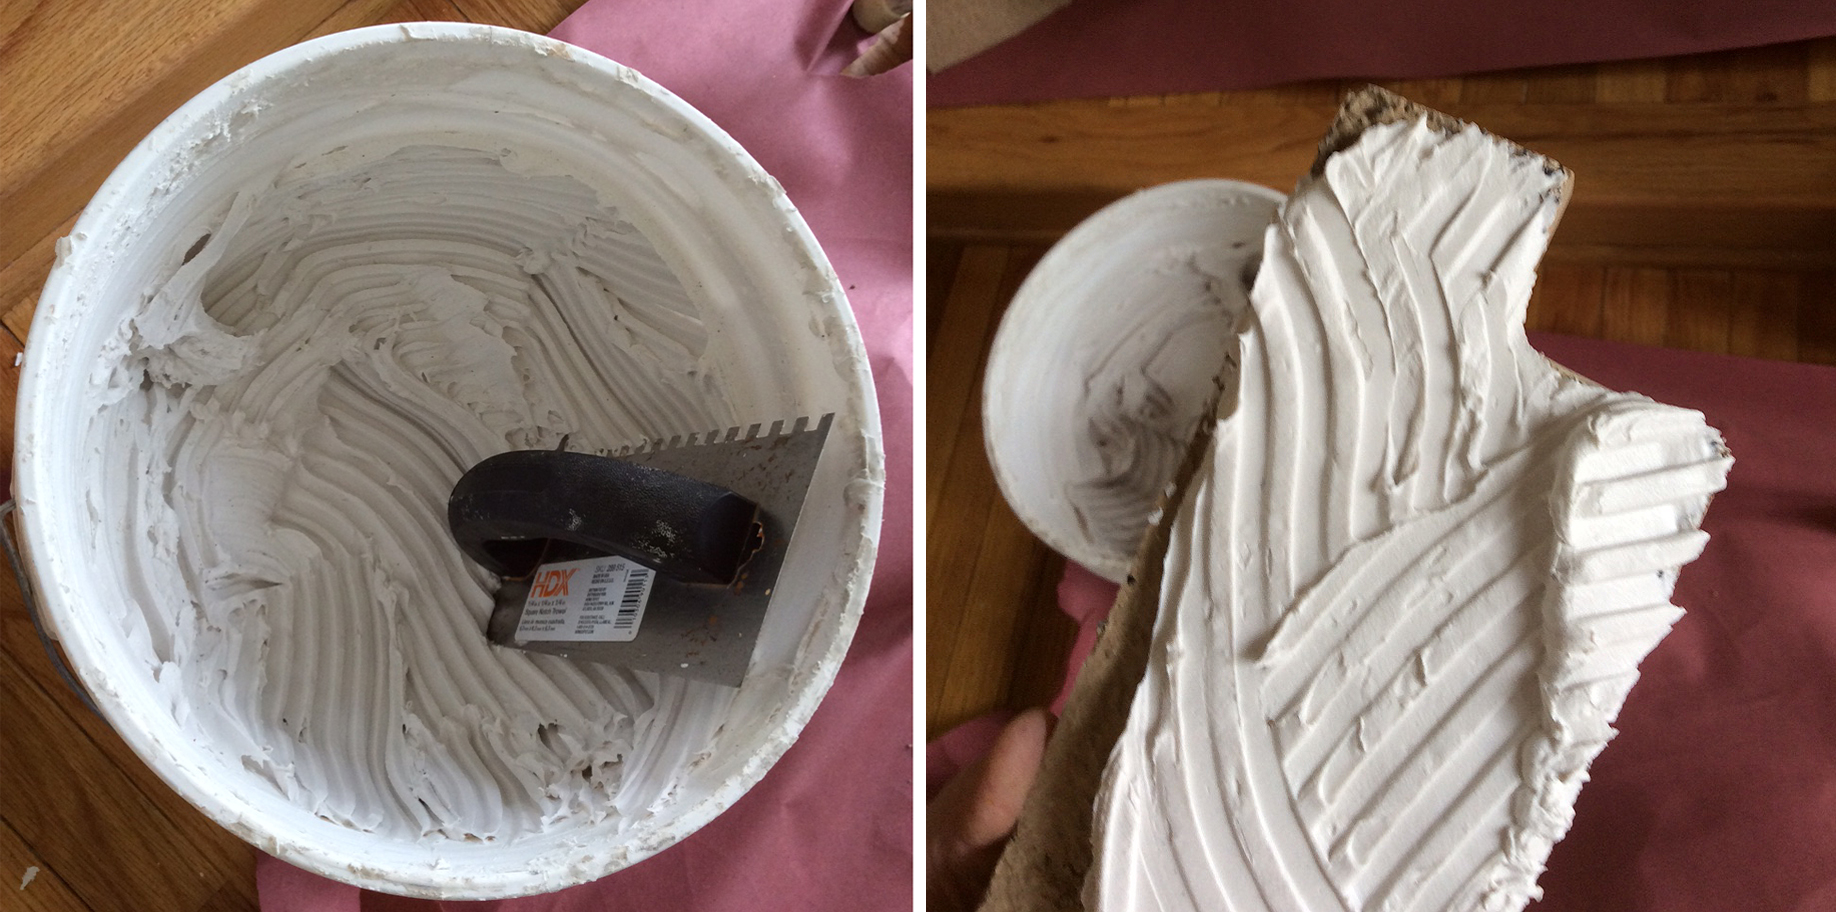
Generously apply tile adhesive in a criss cross pattern to the stones. Adhere the tiles wiggling them a bit to ensure the adhesive coats thoroughly.

Once you’ve set a row of stones, check to make sure they are level. If not, level the stones with shims. Continue stacking the stones and leveling until you are done.
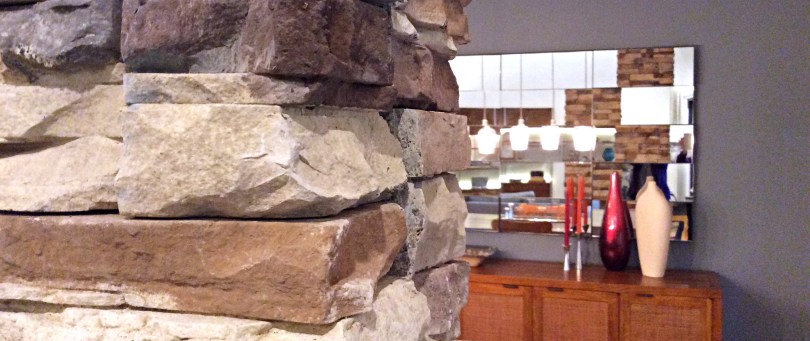
The finished column. I couldn’t be happier. What do you think?